Monday, February 27, 2012

Lighting Placements & Tile Inspiration - Week 16, Tuesday

Today we met with Oliver and the electrician to chose the location of all the ceiling and wall lighting. I was a little nervous about this meeting because I don't know the first thing about where an appropriate light placement is. I've never had that option (besides table/floor lamps) before! Oliver was very good at explaining why and where things should go though and we picked all the placements very quickly. I think we will have a good mix of 4" & 6" can lights to cover the areas that will not have an overhead feature light or sconce.

Here is a quick rundown what we ended up doing:
Bedrooms: a ceiling light in the center of the room and cans in the closets.
Bathrooms: can lights over the showers/tubs and wall lights over the vanities. The master bath got a couple additional can lights as well because it is quite large. I would have loved to have a chandelier over the tub or in the master closet, but apparently it's illegal! I was surprised to hear this because many of the designer inspiration photos I have seen have them. Sneaky sneaky....maybe this can be a "after-market" item....
Stairwell: a couple sconces in each upstairs & basement hallway and a ceiling light mount in the center of the upstairs stairwell. It's a 2-story ceiling in this stairwell area so Riley and I are on the lookout for a cool statement piece to put here. Something unique, modern and artsy would be really cool here.
Living room: a center ceiling-mount light, a few adjustable 4" cans to shine on the built-ins
Dining room: a center ceiling-mount light and two wall-mount sconces over the built-ins. That's where I hope to use the lamp shade pictured below.  There is a set of two that belonged to the house my Grammie was born in Jerome, Idaho. The house was built around 1915, and they were original to the home. Very cool to take a piece of family history and use it in our own house :) They are solid brass with pink marble glass. I'm going to have fixtures built for them locally. I got a quote for about $50 at Hippo Hardware to "sconcify" them. Not sure if I am going to change the glass or not. I'm not really a pink person, but they are pretty cool.
Kitchen: can lights in the ceiling, 3 pendant mounts over the island, and under-cabinet lighting where appropriate
Basement: pretty much all can lights. We want to keep it as light and bright as possible down here. Also we don't want to sacrifice any of that valuable ceiling height!

With all the "guts" going into the house, Oliver encouraged me after our meeting to start thinking about surface finishes. First on the list is tile. I have developed an addiction finding inspiration any and everywhere. My current favorite site to collect images on is Houzz.com. It's a really cool site where you can place images from other users into ideaboards that you manage and create. Very much like Pinterest for home design.Here is a link to my ideaboards if you are interested in seeing the design ideas I like for the house.

Around town there are a TON of tile showrooms. Two of the most famous being Ann Sacks and Pratt & Larson. After viewing Ann Sacks online, I knew that it would be a place to solely look for inspiration. Their product is amazingly beautiful, but priced accordingly. Maybe a source for a small backsplash? 
I decided to give Pratt & Larson a visit. They have a similar price point to AS, but they also have some more affordable options and a bargain/outlet room. 

Here are some photos of tile that I really liked from Pratt & Larson:


This could be neat for a bathroom floor - 1920's traditional with a twist

Craftsman style

Very 1920's - I don't think this quite goes in our house, but I like it.

Traditional Black & White hex tile

Simple 1" Hex tile

Nice diamond pattern in hex floor

White subway tile dark grout - will definitely use this in at least one bathroom

Calacatta marble hex - I love this!
Apparently it's one of the most expensive marbles though...

More marble - I like the combination of sizes for the top tiles

Marble hex tile inlay with rectangle surround & trim - This would be ideal for the master bath flooring

Marble showroom display - Just plain cute!

Close up of the above walls

1" Carrara marble hex tile under the pedestal sink & extra-large basketweave floor

Close up of basketweave - I love the scale of this.

Close up of hex tile 
Fun pattern porcelain - Riley will probably hate this, bit I like it :)

Plus tile - modern pattern with a soft palette
I didn't see anything I can't live without, but I did get a lot of ideas of how to combine different tile patterns. I also decided that I have to have some Carrera hex tile somewhere. It's so elegant, but it can take on a modern look when paired with the right things. 

More to come soon...I'm sure this just one of many tile inspiration trips I will be taking!

Exterior Wrap, Trim & Gutters - Week 16, Monday

Here are the first photos after returning from from Riley's work trip in Germany & Switzerland. As you will see, the exterior has taken on a new skin. The outside walls are now wrapped in preparation for the siding to go on. The gutters have also been attached and the primed trim is on.

Front with wrap & trim mostly complete - as you can see, the team is working on the gutters

Under roof paneling is almost fully installed
Substitute front door all trimmed out

Driveway side of house
Detail of trim around dining room windows 
Service box - no more hole here!
Back corner, dryer vents at bottom right
Back of the house with primed trim & substitute doors

Marveling at the 2-car garage!
Garage w/man door, primed & installed
Inside the house, the plumbing is almost complete and the tubs are in! The basic electrical is roughed in as well and cable, CAT5 & CAT6 will go in next. We also will be having a meeting shortly with Oliver and the electrician to set the location of the ceiling/wall lights. We will be doing a combination of traditional lighting as well as can lights to keep everything clean & bright.

Upstairs Master Suite:
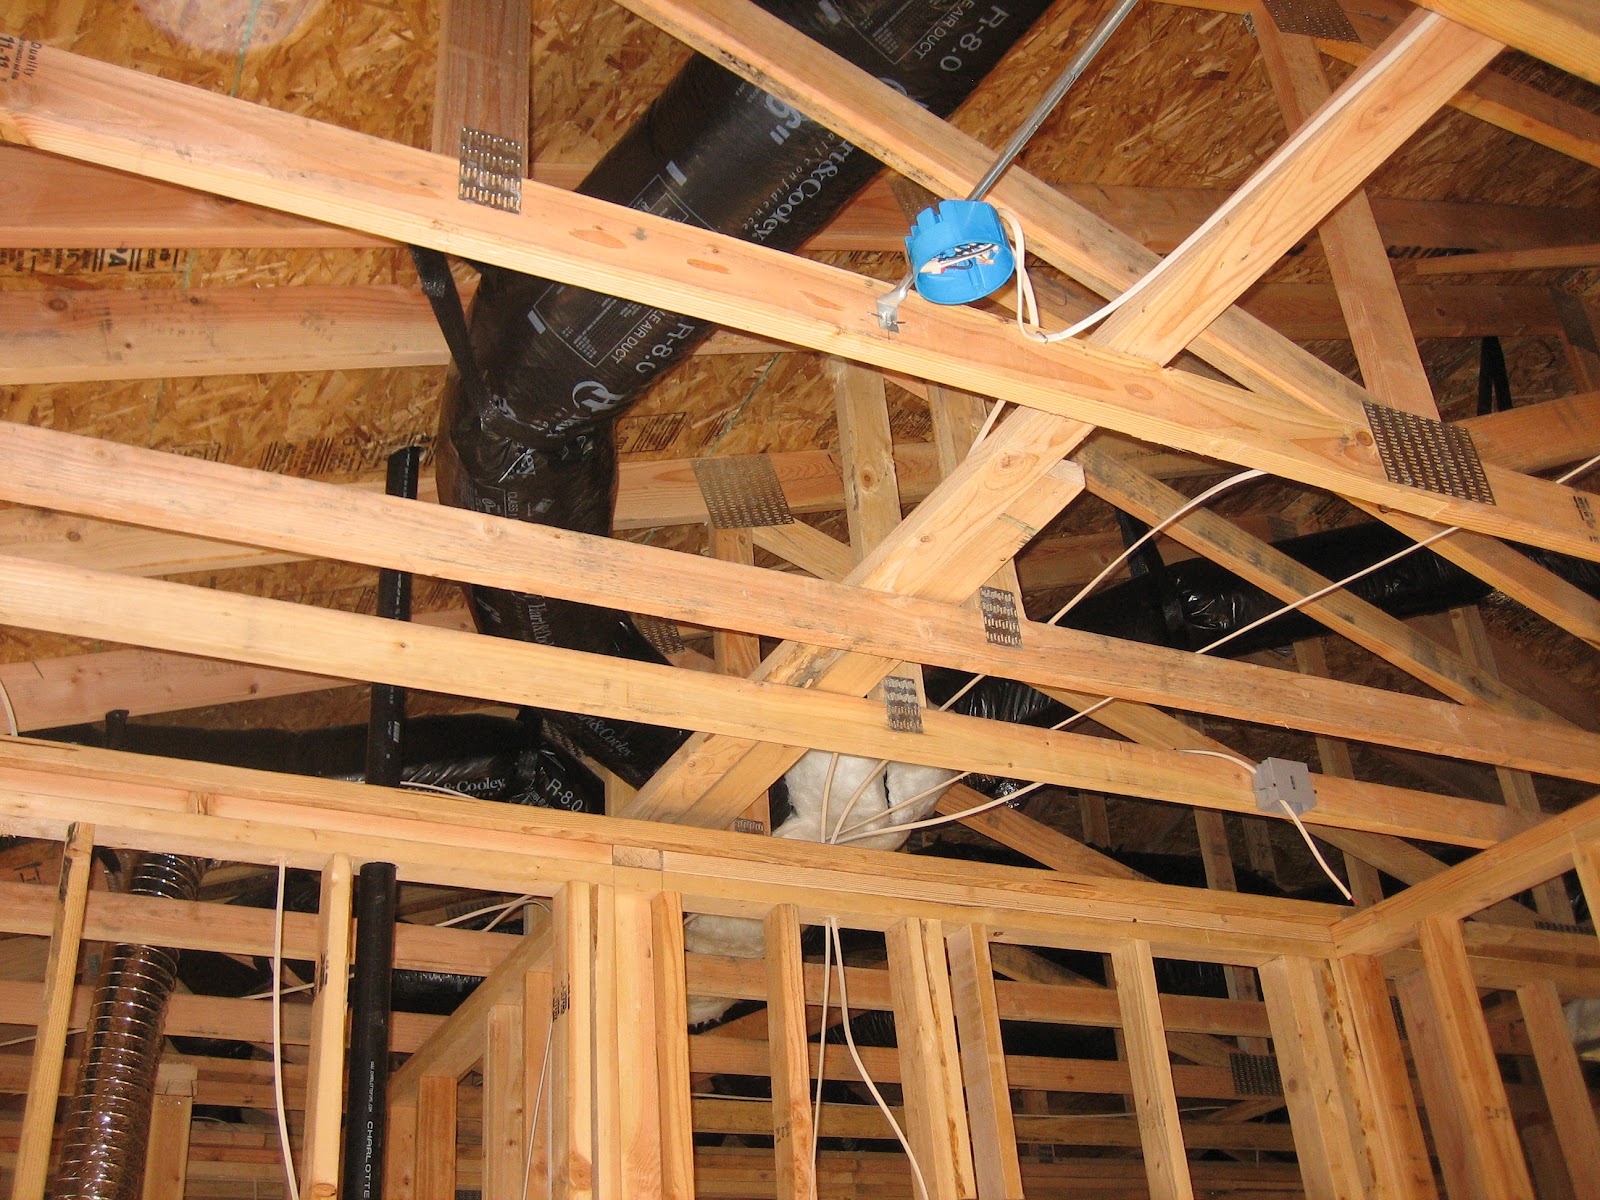
Master Bedroom ceiling - the little blue circle is the ceiling light connection
Master Shower - basic plumbing for 2 shower heads
Master tub - pretty excited about this tub!
 It's 6' and deep enough for a tall man, such as my husband, to take a nice soak.
Upstairs Guest Bath:
View into guest bathroom from master bedroom
- won't have this view for long!
Shower plumbing

Cast iron tub in place

Main Level:
Powder bath plumbing started - the red tube is going to be the placement of the vanity/sink

Powder bath - HVAC

Kitchen - basic sink plumbing under the center window on the left side wall

Kitchen - future home of the Refrigerator, Double Wall Ovens & Cooktop/Hood
Basement:
All kinds of stuff going on in these walls...

Utility Room - installed HVAC/Gas Furnace

Storage Room - electrical panel is in (back) & bar plumbing is roughed in (front)

Entertainment area


Monday, February 13, 2012

Garage Door, Electrical, Plumbing & HVAC - Week 14, Friday

And we're back! Riley and I were both out of town for a work trip and we're home for a few days before we head out again. Tis' the season to be traveling... Here are some photos of the improvements made in the last week or so.

The first noticeable difference outside is the addition of the garage door. As soon as the crew is done using it for storage, it will be great to move our things from storage in Eugene into the garage.

Garage door is on!
 Next we noticed the addition of back & front doors. Riley came to visit the house yesterday and was a little concerned with my door choices. After checking with Oliver, we were relieved that these are just the temporary doors to secure the house until it is finished. Very smart of him to put sub doors on and save the actual doors for when the house is finished. It would be a shame to damage them with everything/everyone going in and out all the time.

Back of House - with sub doors in place of the glass french ones

Front of House
Once inside, we found a lot of other changes. The HVAC is almost complete and electrical and plumbing installation has begun.
HVAC in main Powder Bath


Plumbing to Kitchen sink placement

HVAC pipes in service area behind kitchen pantry

HVAC in upstairs ceiling - looks like a big critter to me...

Venting in master bathroom

More venting to be installed

Electrical boxes being placed

Master bath shower - insulation & water sealing

Master bath - beginnings of a loo

More plumbing upstairs

Living Room fireplace with gas line installed

Garage Demo cont. & Back Porch - Week 12, Sunday

Last month before the traveling craziness began, I took the following photos. They show the complete garage demo with the interior dividing wall removed, window openings filled, man-door framed and the interior stripped. There is also a clearer photo of the back deck/porch. Not too many visible changes from Wednesday other than that!

Open Garage


Inside Garage - No more windows!

Inside Garage - Framed man-door

Inside Garage Facing Driveway

Inside Garage - Ceiling, we didn't do anything here. The exterior of the structure is really well made so it didn't need much work.

Back Porch

Tiling & Taming my Inspiration

There has been a lot of progress on the house since my last post. There also has been a lot going on in our non-remodeling lives! Riley and I were out of town for about a week and now we are sitting for a friend's dog so finding the time to post has been a little difficult.

With the progress on the house, comes more decisions. The exterior is close to complete now (photos to come next) and the focus is turning to the interior. Time to choose tile, wood finishes, and paint colors. So far I have collected a TON of inspiration. Now I have to wade through it and narrow down my selections. The biggest challenge is choosing the permanent finishes for the bathrooms. I really love color and combining color in many ways, but I also like to change colors within a room often. This poses a problem when picking out tile and flooring. My instinct is to go all white everywhere so I can paint walls and bring color in with accents. I just fear that it will be incredibly dull and sterile looking. My current solution is to stay in the whites/creams/light grays and combine many different textures with in that palette. I'm loving carrera marble in different patterns. Particularly the textures that mimic fabrics like herringbones & modified basketweaves.

I have also been entertaining the idea of using wall paper in the powder bath and possibly in parts of one of the bedrooms. I stumbled across Walnut Wallpaper's website and it got my wheels turning. How could I not consider wallpaper by Marimekko and Vivian Westwood (two of my favorite textile designers)?

The possibilities are endless, should be interesting to see where we land!